Waffle Iron Fried Cheese Love
 Perusing the internet the other day, God graced me to find this lovely post suggesting the idea that fried cheese might be possible to make at home, using a waffle iron... I told you God is good!More proof he's good? I told my wife about the post, to which she replied, "Get me the recipe and I'll make you some."Pinch myself. Not a dream? Check. Wife's not an alien? Check.
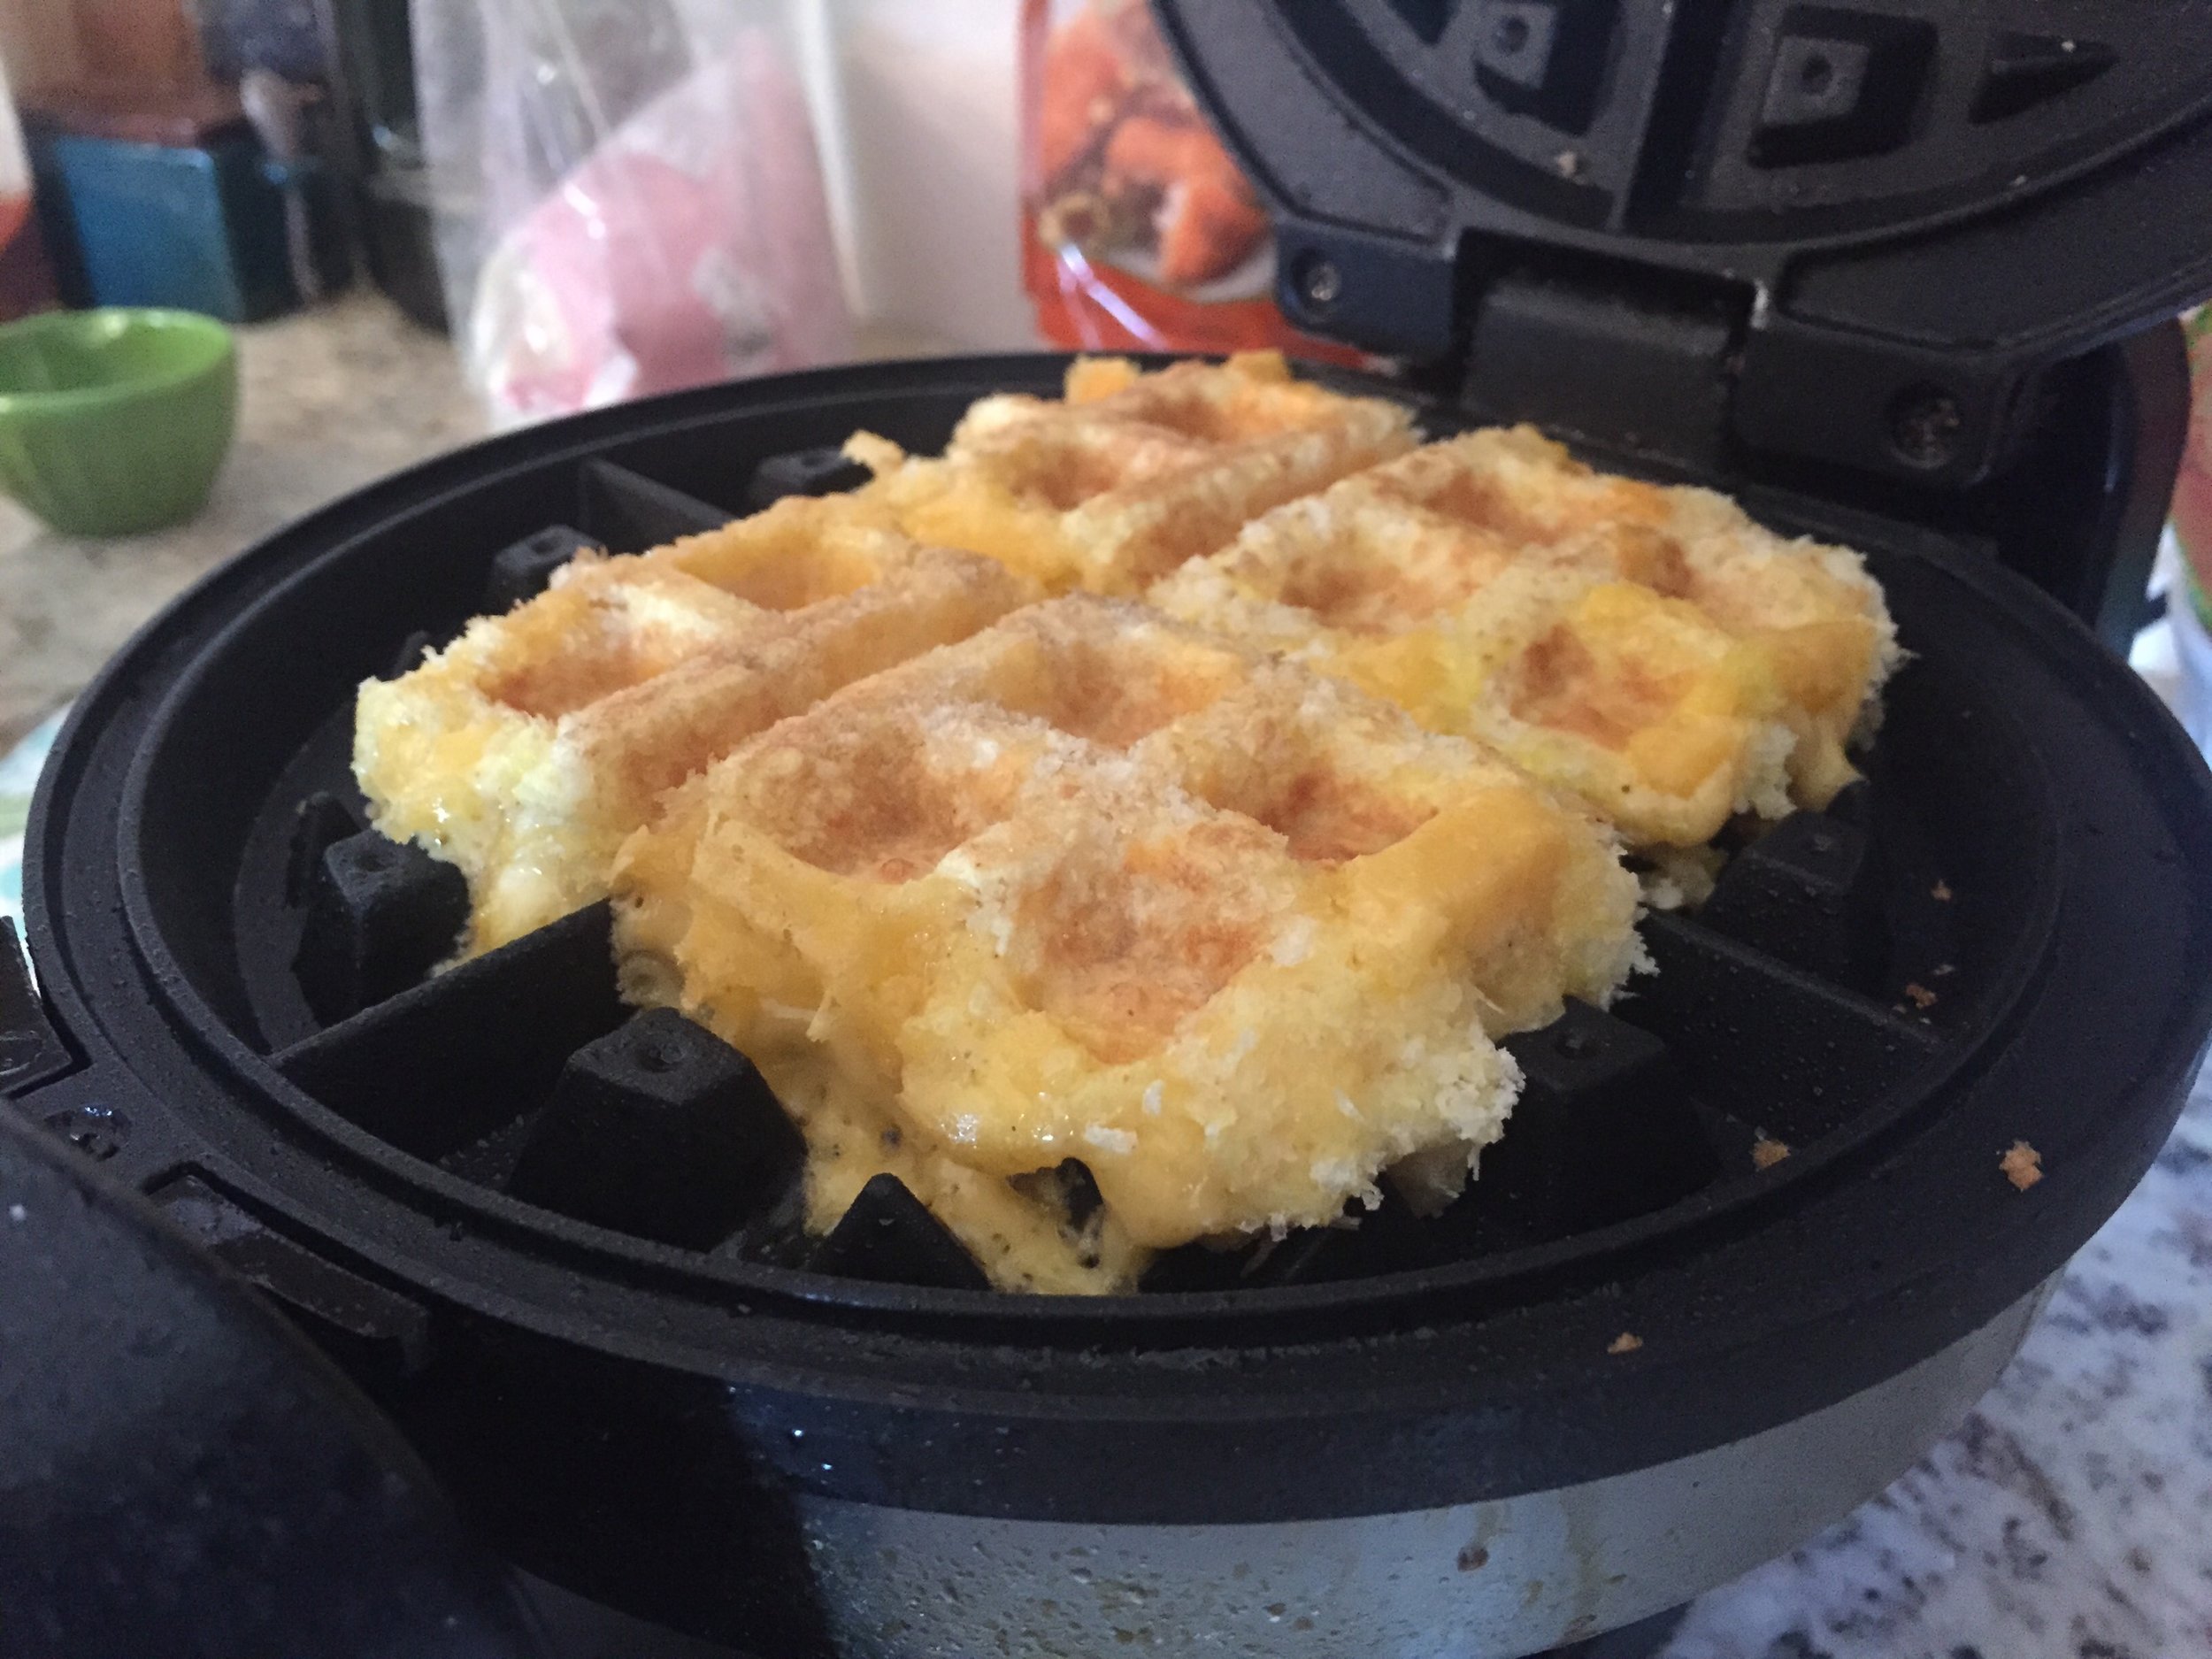
Our Twists On The Recipe
The recipe called for mozzarella, but we only had cheddar and brie. It also only said to dip the cheese in each plate of coating once. We tried that but quickly realized the cheddar cheese needed another dip in the flower, egg, and Panko - so we double coated each piece (including the brie). Oh, did I mention we didn't have typical bread crumbs? So, we used Panko instead. Here's our ingredient list:Ingredients
- 1/4 cup all purpose flour
- 1/2 teaspoon hungarian paprika
- crack of pepper
- two eggs (whisked well)
- 1 cup Panko breadcrumbs (keep nearby if you need/want more)
- cheese of choice (nothing too soft like goat cheese, or too hard like Parmesan)
Some qualifiers - we used one of those waffle irons that rotates, which didn't seem to affect the results, but your experience may vary. We obviously used different cheeses and breadcrumbs than the original recipe called for, and it went delightfully well. We tried a few cheddar slices with only one dip in each coating plate, and the cheese collapsed in the waffle iron. So, the rest of the slices got two passes through the plates. Here's how we made our waffle iron fried cheese love:Recipe
- Heat the waffle iron and coat in non-stick spray.
- Mix the flour, paprika and pepper on a plate. Pour the whisked eggs on a second plate or large flat bowl. Pour breadcrumbs on a third plate.
- Slice the cheese into 1/2 inch pieces.
- Dip the cheese into the flower, egg, and breadcrumbs, in that order, twice.
- Lay the cheese across the waffle iron grid. (We fit two pieces at a time)
- Close the waffle iron, press firmly to close. Wait 30-60 seconds depending on cheese thickness, browning of the breadcrumbs, etc.
- Repeat until everyone is too full of cheesy goodness.
- Go on a walk. (We did)
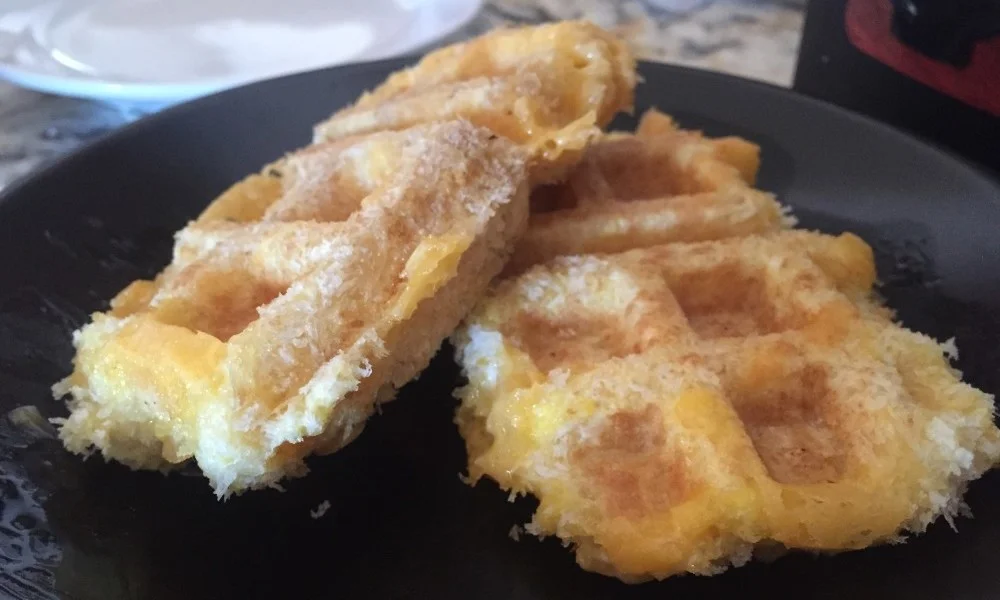
The Results
I haven't tried the original recipe yet, so technically I can't say our brie and cheddar waffle iron fried cheese slices were better... But, lets be honest. They were way better!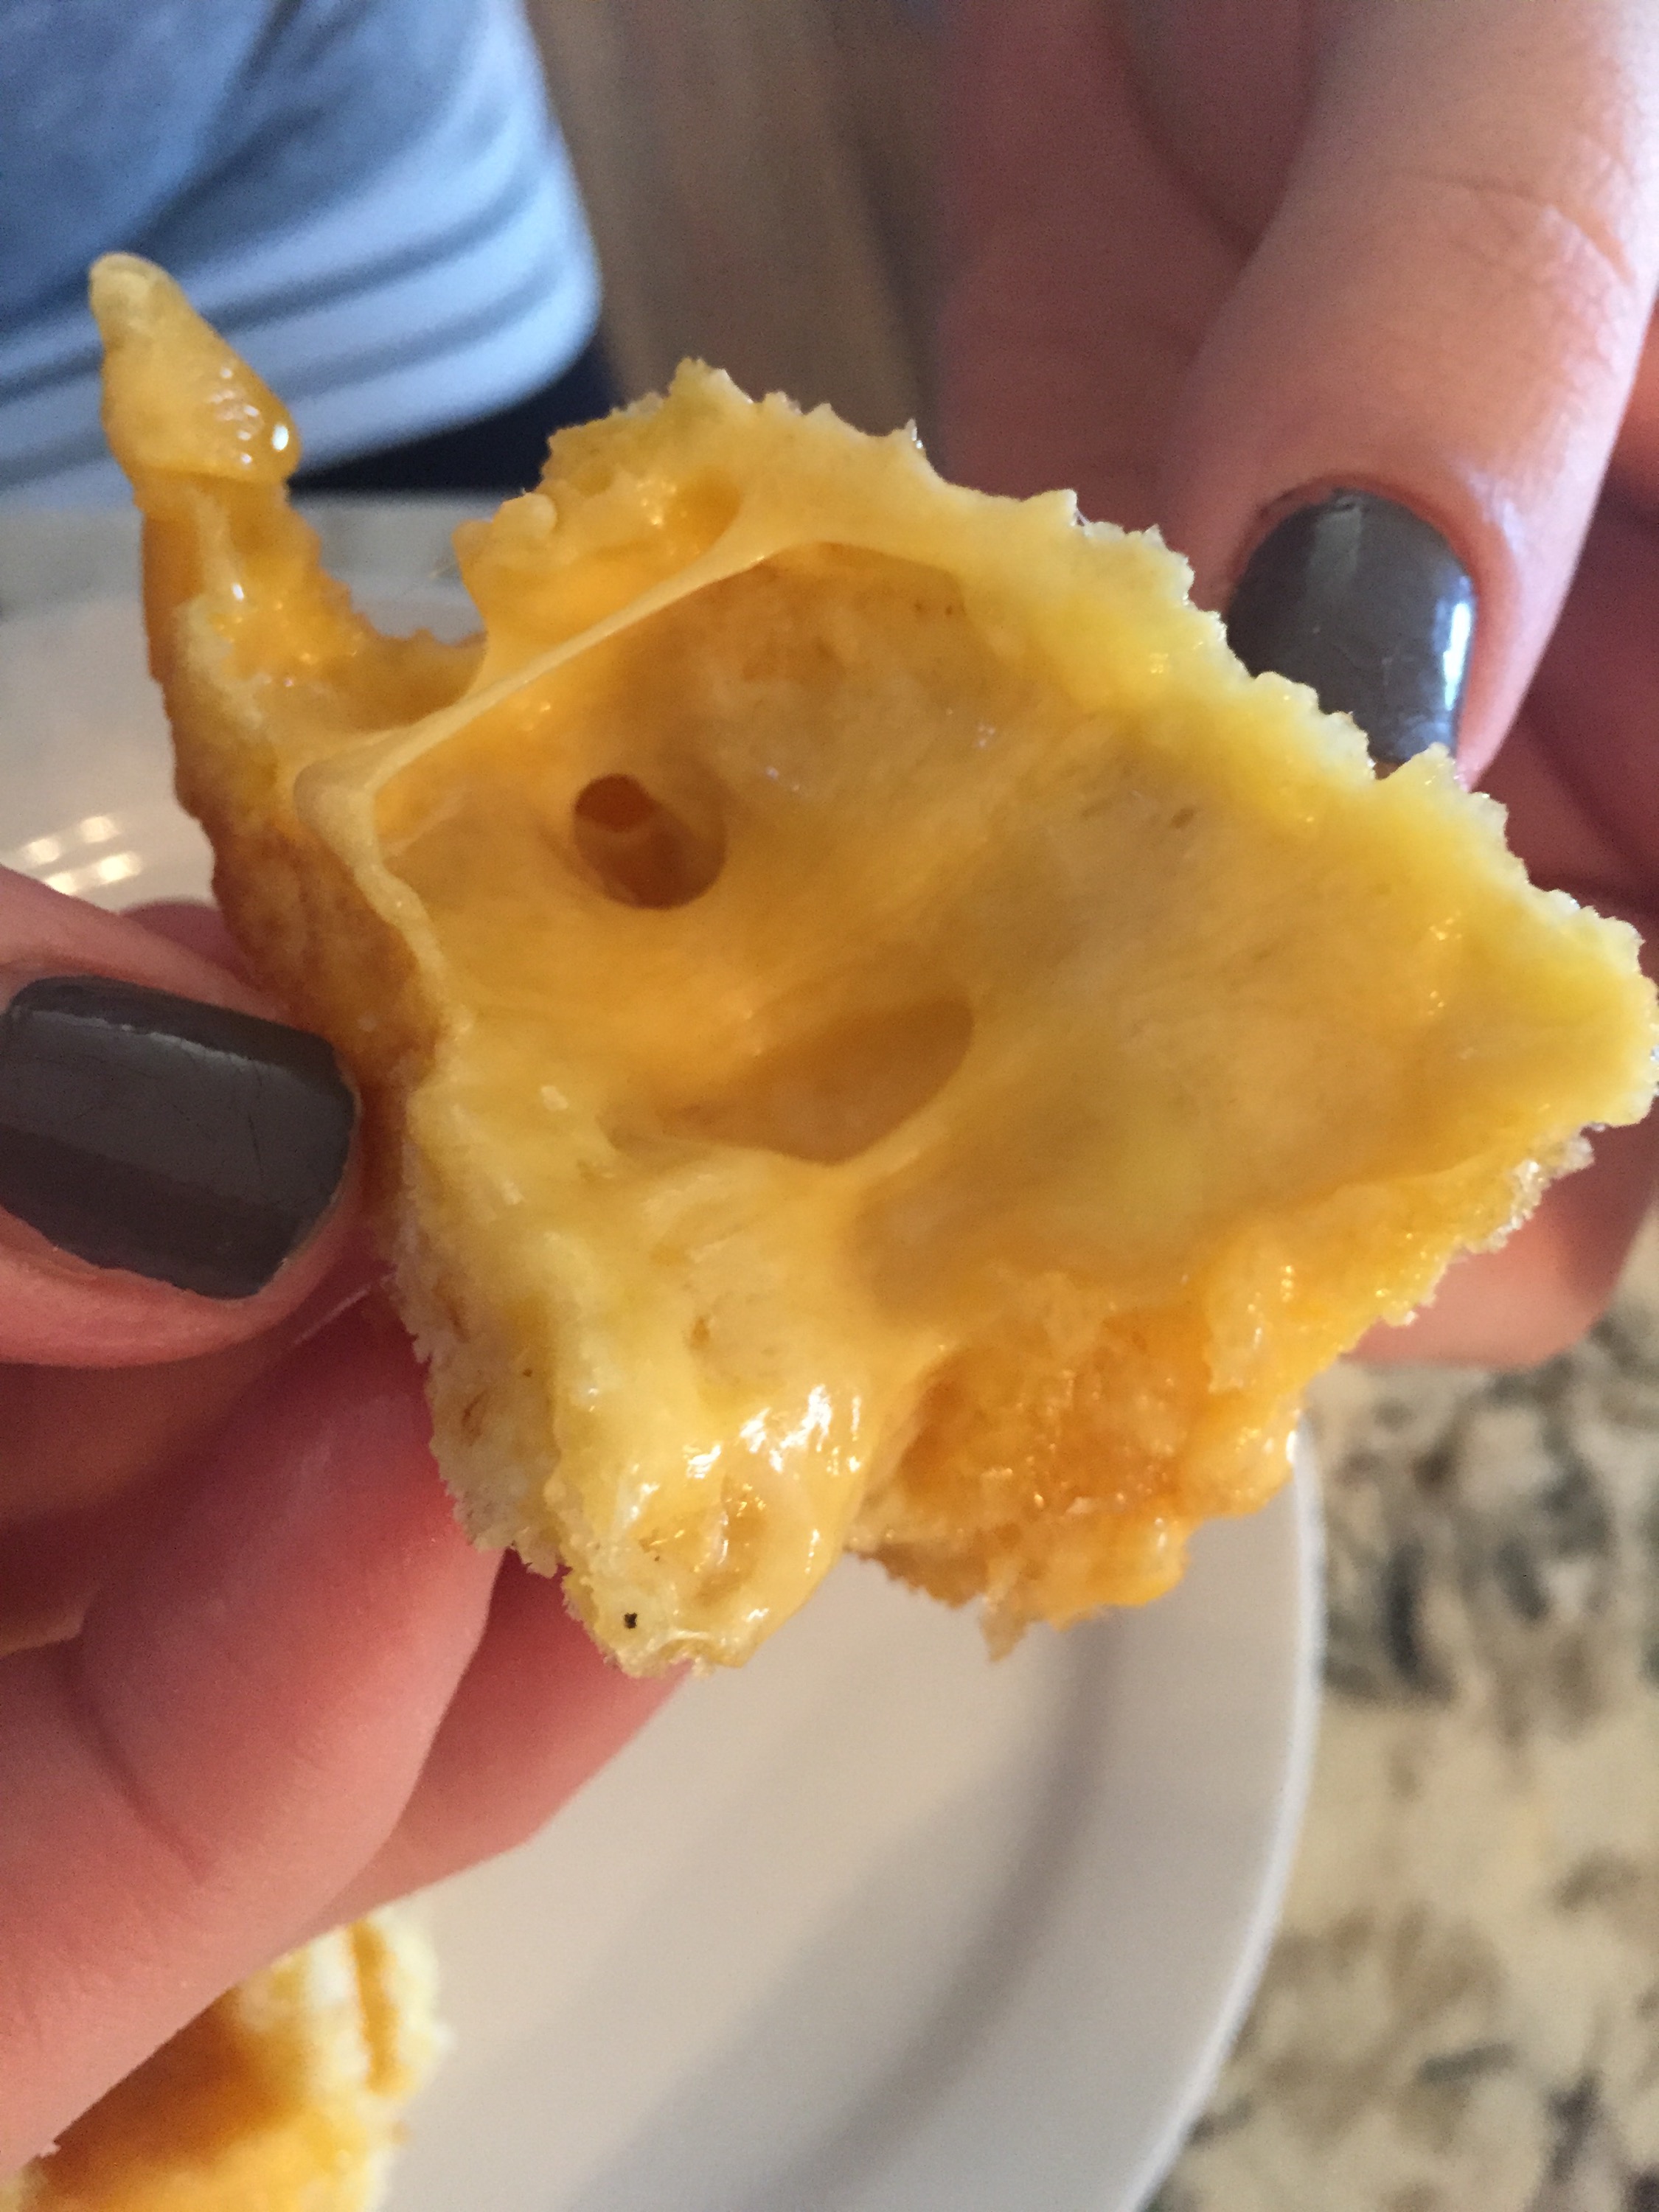 The inside of the cheddar slices (pictured above) were gooey/melty after about 45-60 seconds. The bits that melted out of the breading crisped quickly into a chewy, crispy crust.
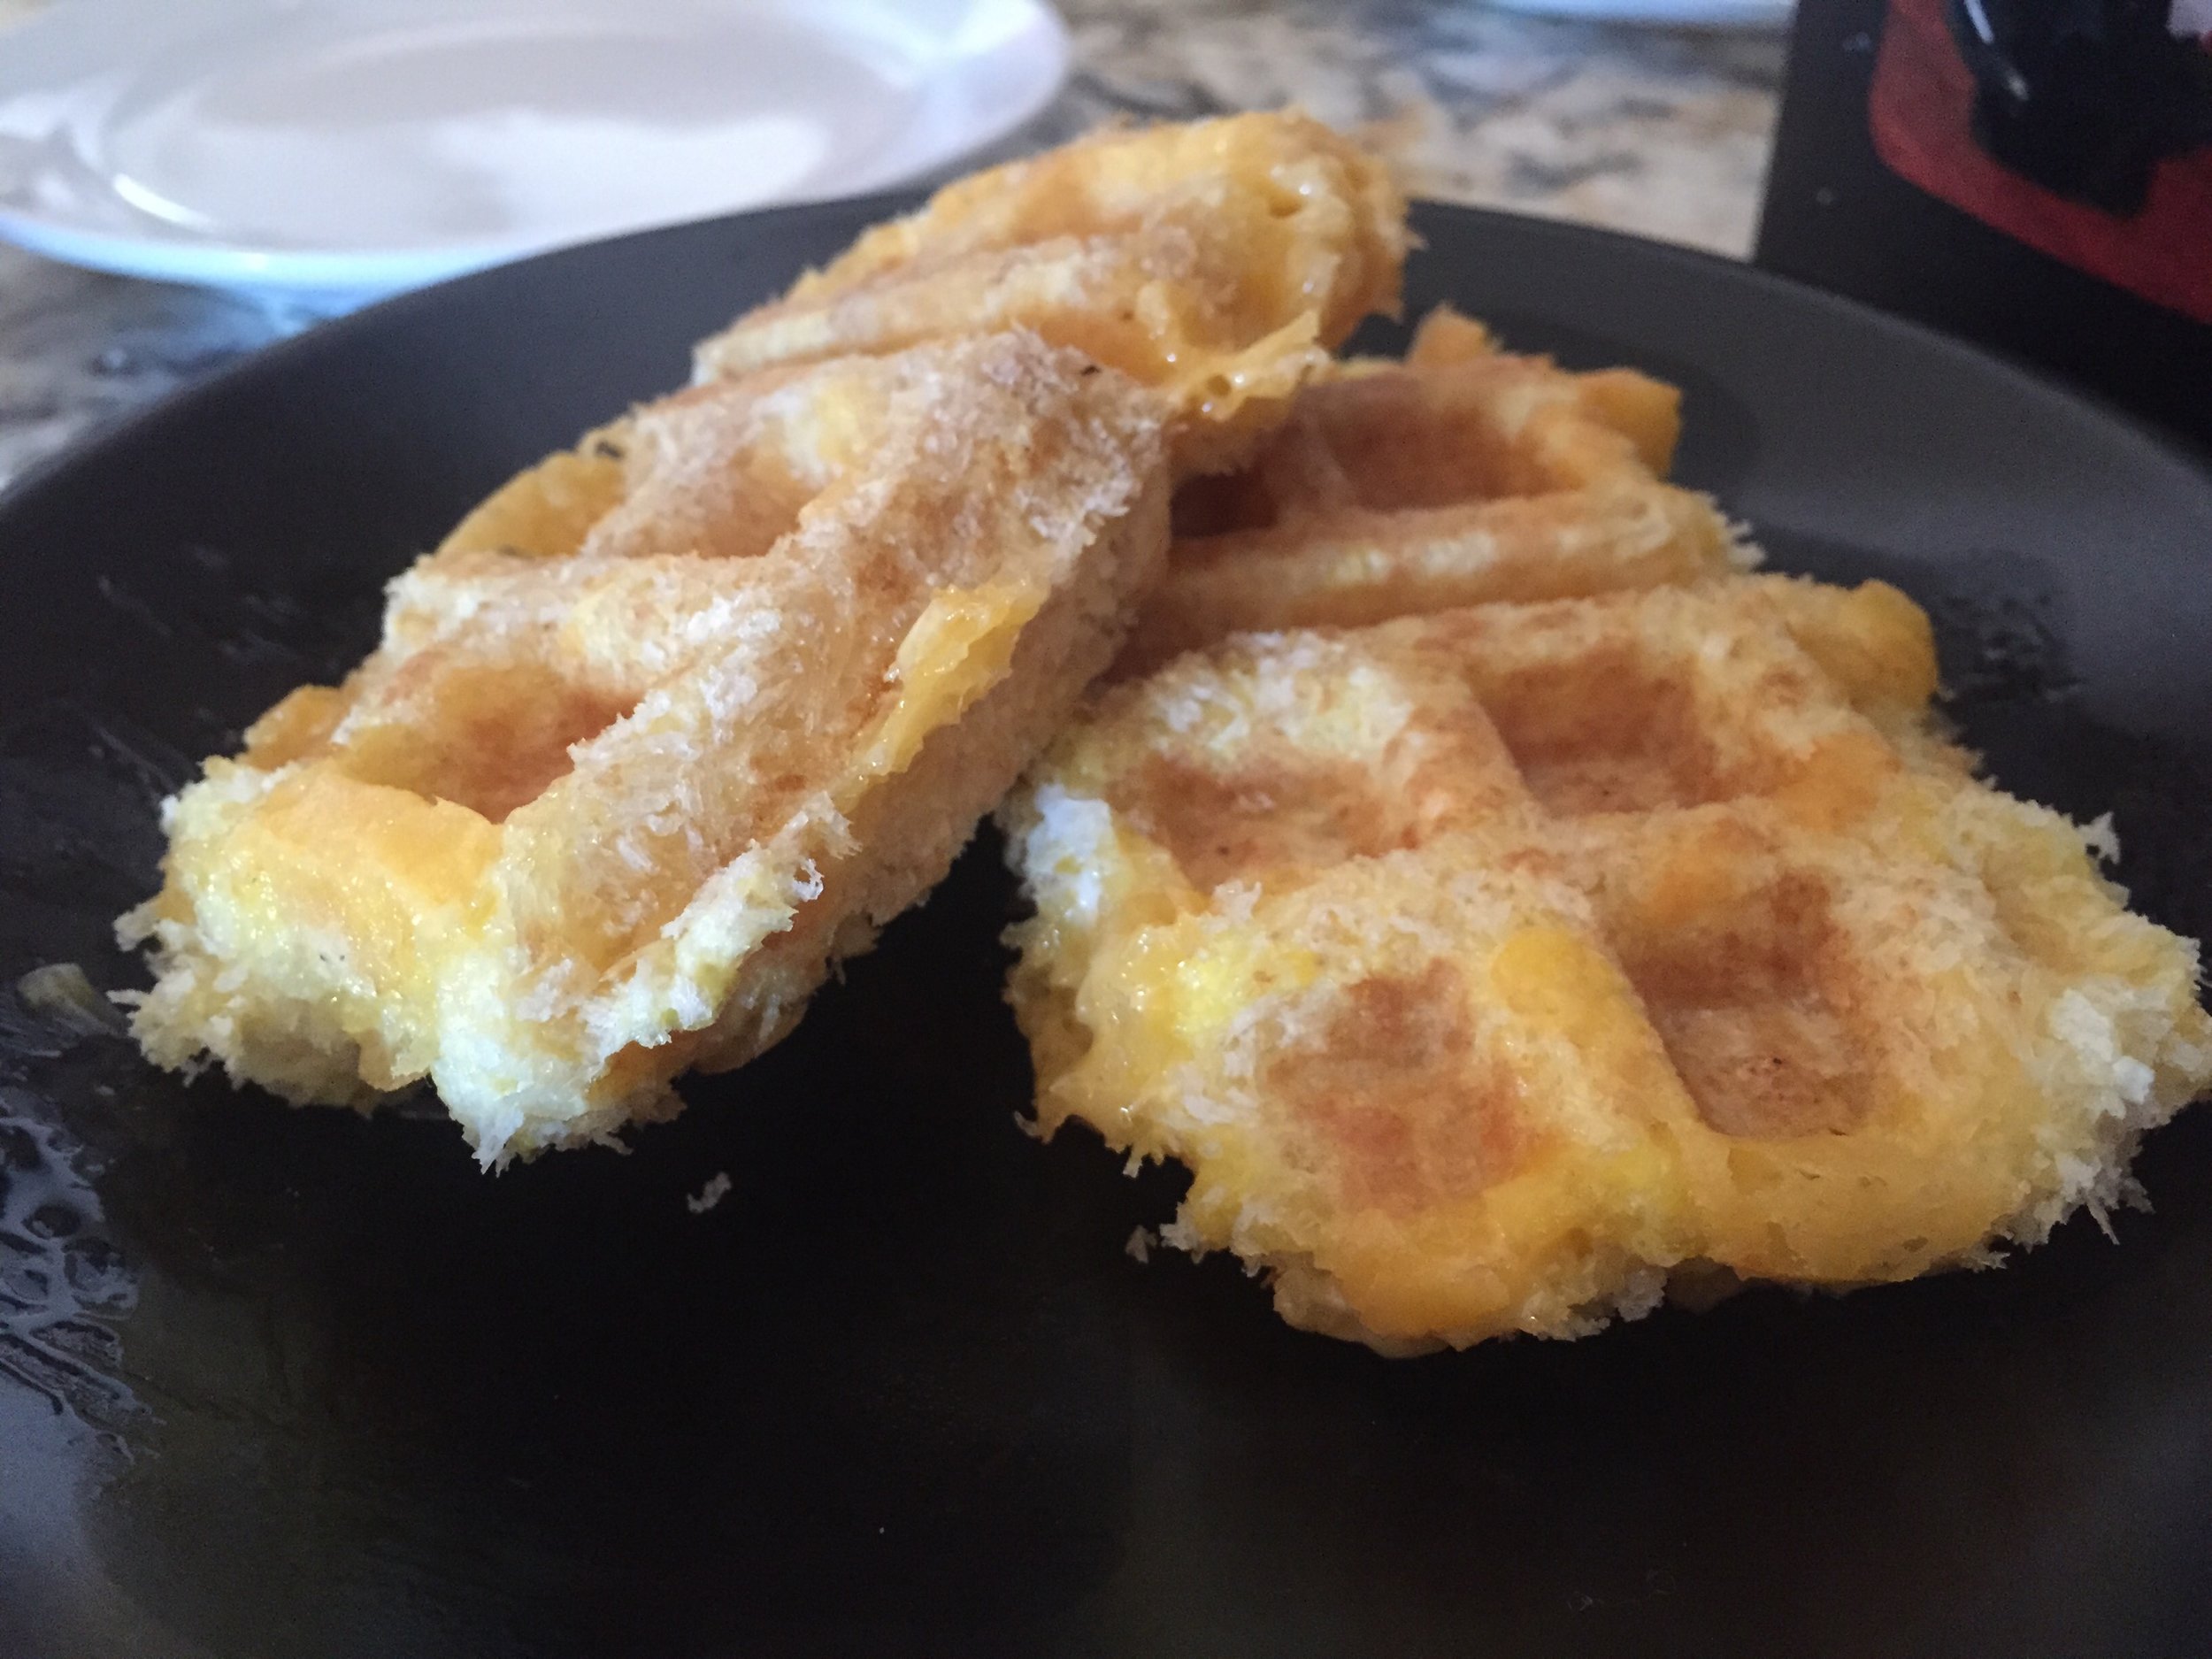
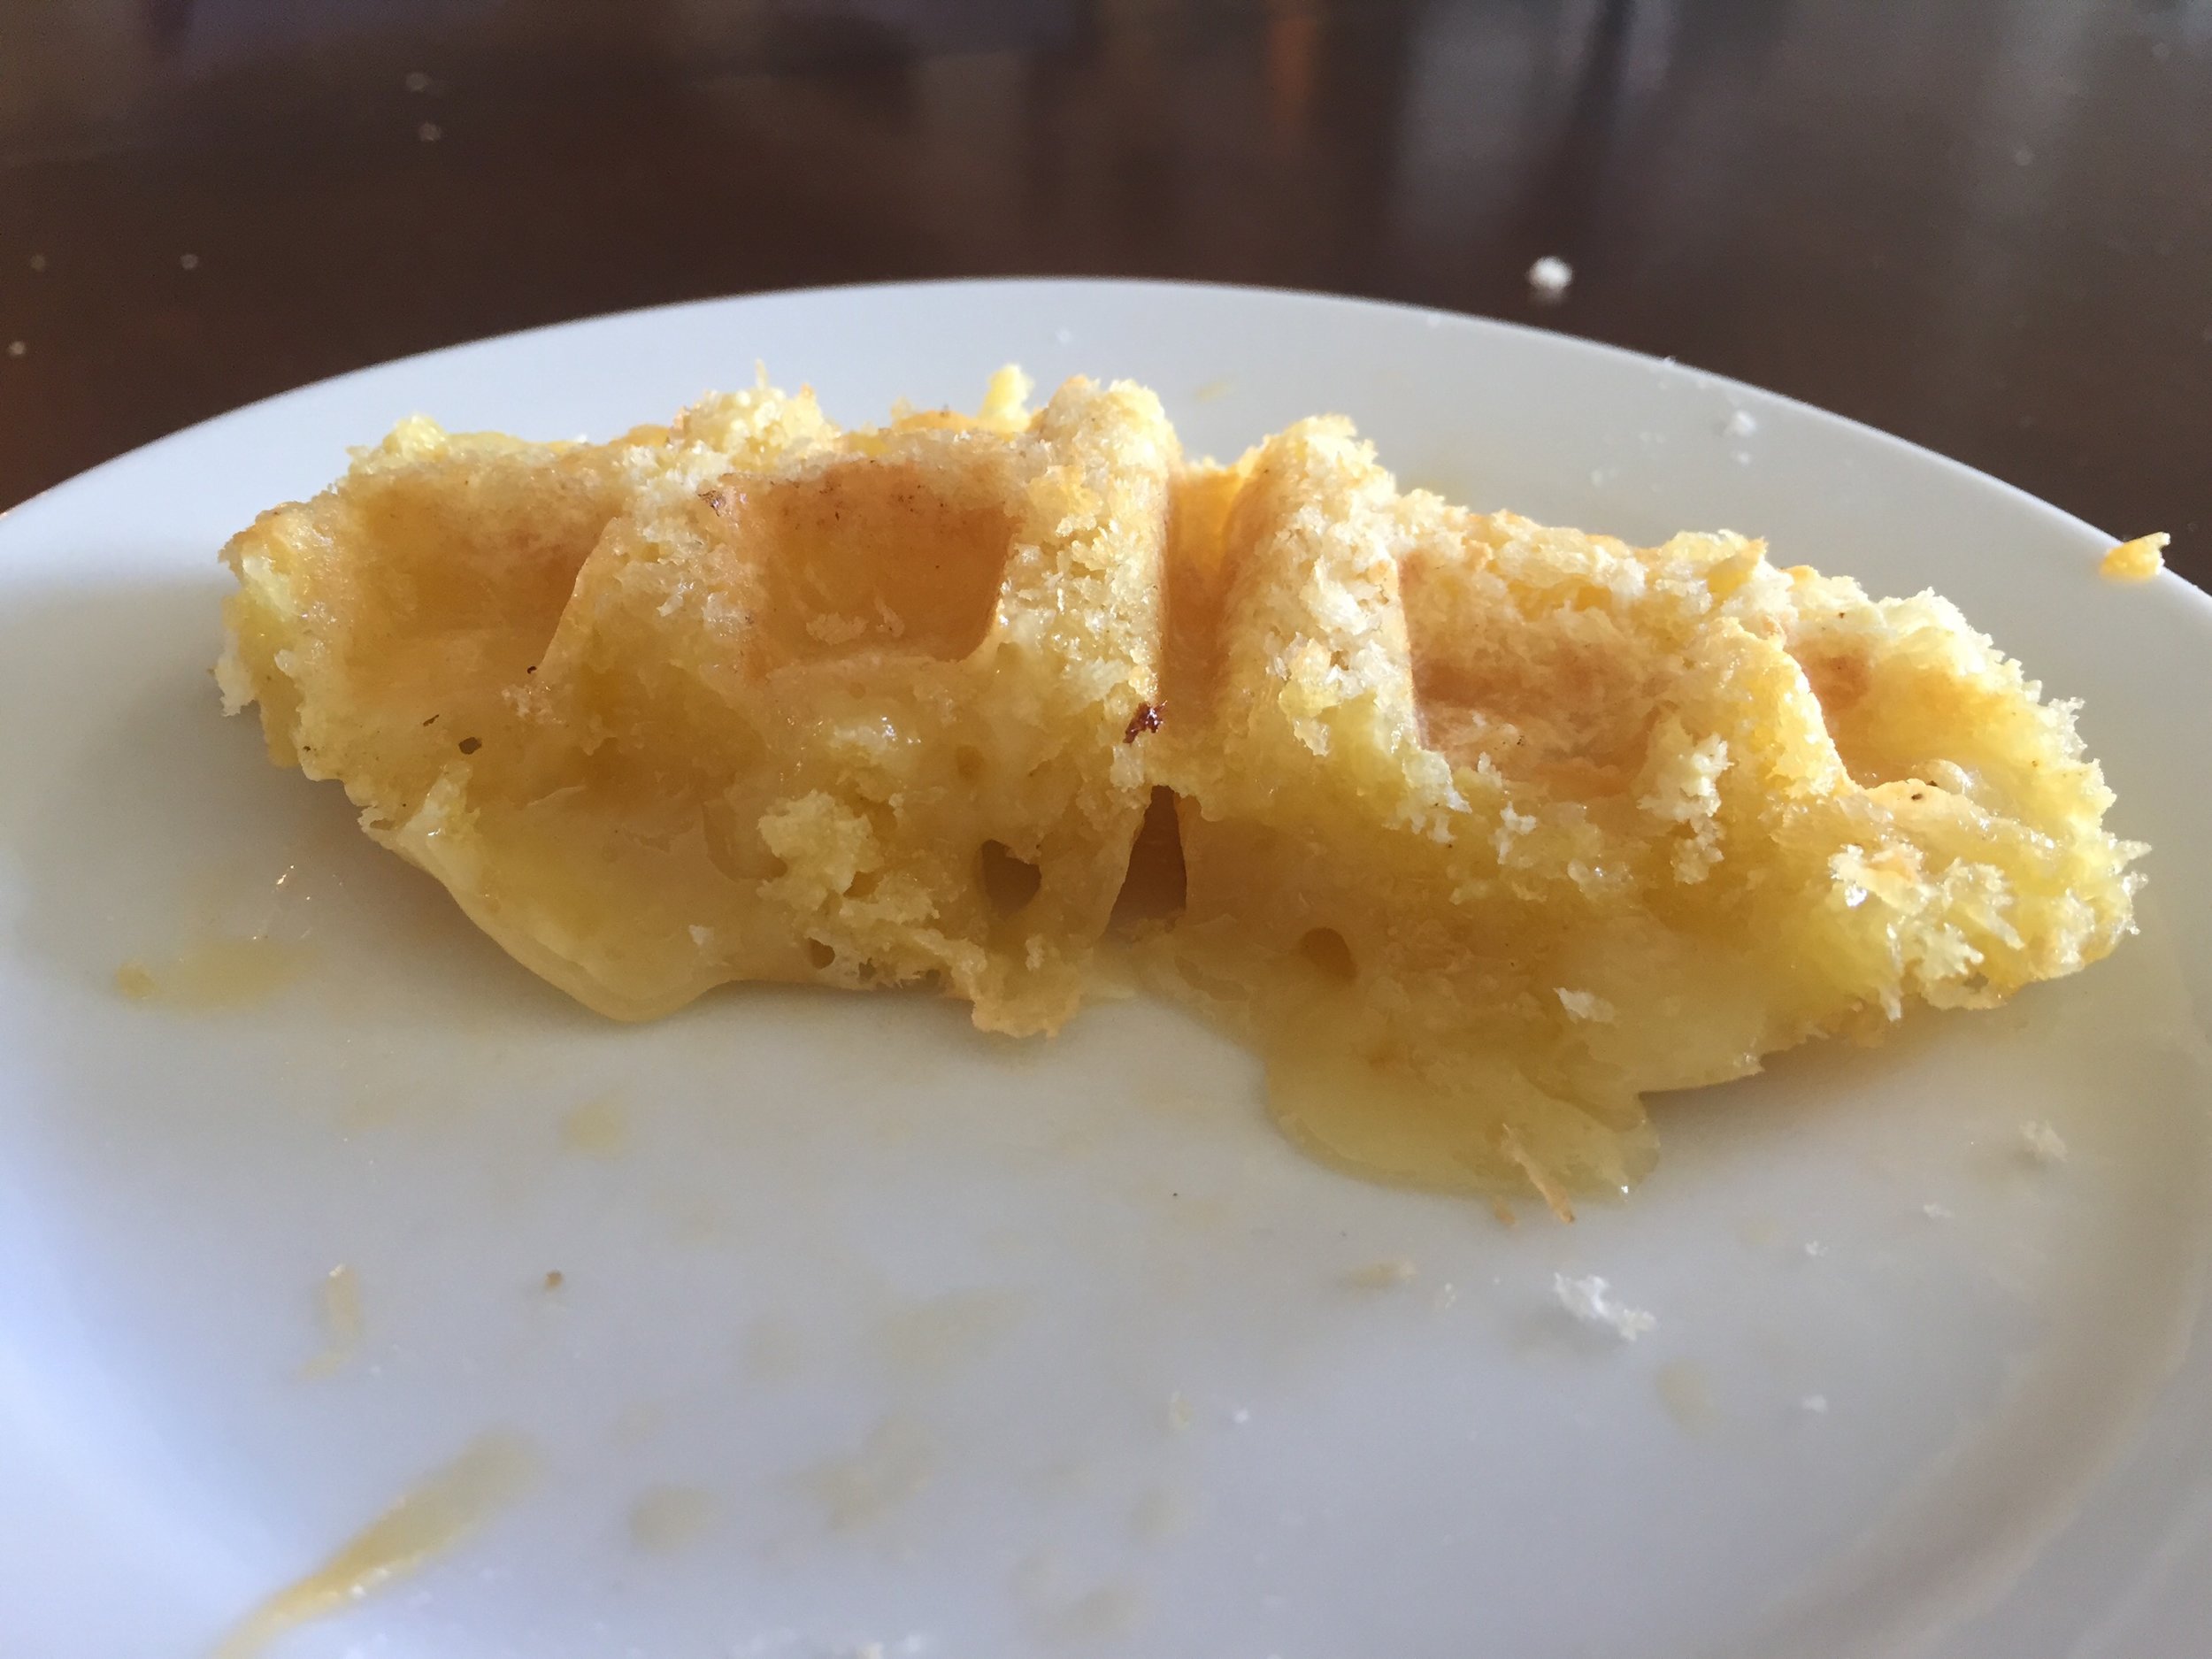 Flash-heating the brie (pictured above) intensified all the tangy, buttery flavors. It was almost too tangy, but if you could push passed that, the buttery welcome at the end was totally worth it. The pressure from the waffle iron spread the cheese evenly to make each bite more light and airy than a typical brie snack.
What Else Can I Waffle Iron Press...?
We also made a fun, semi-unrelated discovery. The french toast monte cristo sandwhich left-overs from our family super bowl party the day before re-heat exceptionally well in a waffle iron, which functioned like a panini press.The meat and cheese inside the sandwich heated evenly, and the french toast on the outside was piping hot. Most fun of all, instead of long grid-lines across the sandwich, the waffle iron imprinted the waffle grid pattern into the french toast. Making for a nice grip as I inhaled the sweet-and-savory sandwich leftovers.Did you end up with any left overs after the 2015 Super Bowl? What were the creative ways you reheated/remade those foods into meals/snacks? Most importantly, are you getting your waffle iron out right now to make some home-made fried cheese???